Preparing For A Natural Disaster
Ever since I started having kids I’ve been worried about taking care of them in EVERY scenario. One area I think we all fall short in is the preparation for the unknown natural disaster. Because it’s exactly that. Unknown. Natural disasters can often seem distant. One of those “It will never happen to me” type scenarios. They’re notoriously difficult to predict and usually very specific to certain areas of the country. The east coast is known for hurricanes, the central flatlands are notorious for tornados, and the west coast always seems to be shaking with earthquakes. Am I right? So, how do we prepare for a natural disaster? I think it’s best if we prepare temporally, physically, mentally, and emotionally.Temporally
We need supplies on-hand to take care of our needs after the disaster strikes. This could be compiled in a natural disaster survival kit or bag.
Physically
We need to be in shape enough to help with the cleanup efforts and aftermath. Often times there will be fallen trees or broken houses that may need some attention before the area is livable again.
Mentally
Having a set of protocols and knowing exactly what to do if a natural disaster does happen can easy mental stability after a disaster hits close to home.
Emotionally
We need to understand that this can happen to anyone at any time. If it happens to you, you’re not being picked on. It’s just mother nature doing her thing. Prepare ahead of time and feel confident in your ability to cope with whatever comes your way.
In this article, we are going to address the temporal side of things. We’ll learn what should be in a natural disaster survival kit and how to effectively pack a natural disaster bag.What Should Be Included In a Disaster Kit?
It’s hard to prepare one disaster kit that will cover all possible disaster, but this list should get you started. After you have packed the essentials, it’s recommended that you add additional items to help with the specific natural disaster most likely to happen in your area.Water and Water Filters
You can only survive for 3 days without water. No matter what type of disaster you are in if you don’t have water stored and a way to clean additional water, you might be putting your life at risk.
- Go buy a few 5-gallon food-grade containers, fill them up, and put one in each closet of the house. As long as they are out of direct sunlight, and you fill them up with house water (pre-filtered and treated), they should be fine sitting there for quite some time.
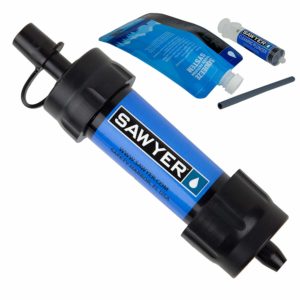
- Go buy a water filter. I recommend the Sawyer water filters on Amazon. They can filter up to 100,000 gallons of water before needing to be flushed out and cleaned. These little filters are small and easy to store in a kit or a go bag.
- Sawyer also offers a 4-liter water filter system that you can use if you have a larger family.
Food Storage
Most people hear food storage and automatically think of the long-term freeze dried foods that cost a ton of money (Side note, they don’t cost a lot of money. That’s just the perception most people have).
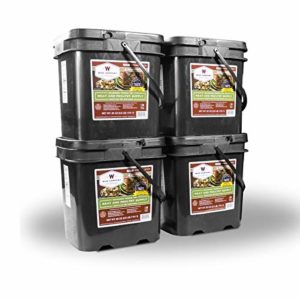 For this kit, it’s more important to store foods that you like and will eat. It’s not required, but it is beneficial to have some food with a longer shelf life. That way you don’t have to be swapping out food every 12 to 18 months.
Start with easy foods like:
- Jerky
- Nuts and seed
- Crackers
- Granola bars
- Canned veggies
- Canned meats
- Freeze dried or dehydrated fruits
- Peanut butter
- Trail mix
- MRE’s (Meals ready to eat)
*If you store any cans do not forget to store a hand-held can opener.
Equipment and Fuel For Cooking
Depending on the foods you store, you will most likely want some of it warm. If you’re in the aftermath of a natural disaster, we can assume the power and gas don’t work, so you’ll want an alternative to heating up your food.
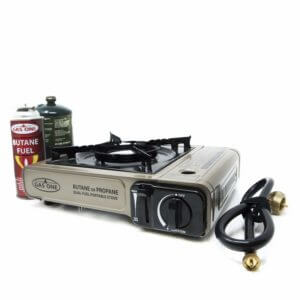 There are a lot of different ways to heat your food, but you’ll want to find something that you can use indoors that won’t put off harmful gases.
I recommend a Portable Propane & Butane Gas Stove Burner. You can either use propane or butane. The butane is safe to use indoors whereas the propane is not. You’ll want both fuels on hand just in case.
Another alternative is this smaller, more portable camp cooker. It’s really easy to pack up and take with you when you’re in a pinch for time.
Lighting – Flashlights, solar lights, or a headlamp
Most natural disasters cause prolonged power outages. Getting around at night can be hard and even dangerous if you can’t see where you’re going. Not to mention, if you have small children the darkness can be somewhat frightening. Especially in the aftermath of the disaster they just went through.
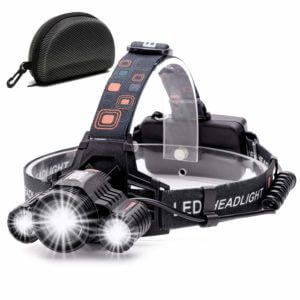 Most people have a flashlight or two in the house. The question is do you know where it is at all times? If you have a flashlight tucked away in your natural disaster kit, you’ll always know where to find it when the time comes to use it.
For longer-term power outages, it’s also really nice to have a set of solar lights. These can be as simple as the Luci Light or as complex as the Goal Zero Solar lighting system. Having them in your kit will ensure that you have light long after you backup batteries are gone.
If you’re a parent that needs both of your hands free to take care of your kids, or if you plan to be out at night helping with the disaster relief, I would recommend you have a good quality headlamp (Maybe 2). This will help you see at night while still using both hands.
*Don’t forget to store extra batteries.
Portable Crank Radio
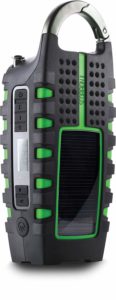 Cellphone towers can often collapse during disasters compromising communication networks. Packing a portable radio will help you keep in touch with the status of relief operations on the ground.
Having a crank radio will allow you to listen in on progress without worrying about power. All you have to do is crank the radio and it will stay charged. A small added bonus to some of these radios is that they have a port where you can attach a USB cable and actually charge your phone as well.
Important Documents
Consolidate your vital documents such as your passport, a paper copy of your drivers licenses, and a  copy of your insurance information. Put it in a file and put it in a watertight container to protect it from the elements.
First Aid Kit
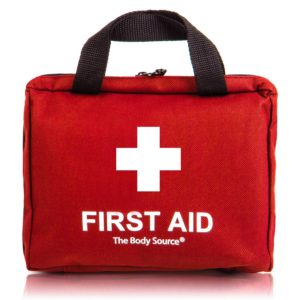 I think this should be a given, but just in case you’re not thinking about it, you need a good quality first aid kit as well. Depending on the severity of the disaster, there is a high likelihood that you will use the kit, at a bare minimum, on some bumps and bruises.
Like I said before, there is no real way to know 100% of what you will need, but the list above will get you started. Some additional items you also might want to consider are:
- Extra clothing
- Tent or shelter
- Sleeping bags
- Additional tools
- Medication
- Contact holder and solution
- Person hygiene items like toothbrushes and toothpaste
- Toilet paper
- Baby wipes
- Baby formula if you have an infant in need
The list can go on and on. Look at your family size and evaluate what is most important to you. Create one kit for the whole family or a bunch of disaster bags for each individual person. It doesn’t really matter as long as you have something and feel good about what you have.
How to Effectively Pack a Natural Disaster Bag
Now that’s you’ve compiled items and packed your kit, it’s time to think about packing a natural disaster bag. What if the disaster requires you to leave your home? Chances are your survival kit will be too big to just pack up and take with you. So, slim down the items listed above and pack them in a backpack that’s easy to carry for just such an occasion. I found this guide to packing a camping backpack in a book called “Camping” by Ed and Kate Douglas. I believe the concepts are sound. You should take these same principles and use them when packing your natural disaster survival kit.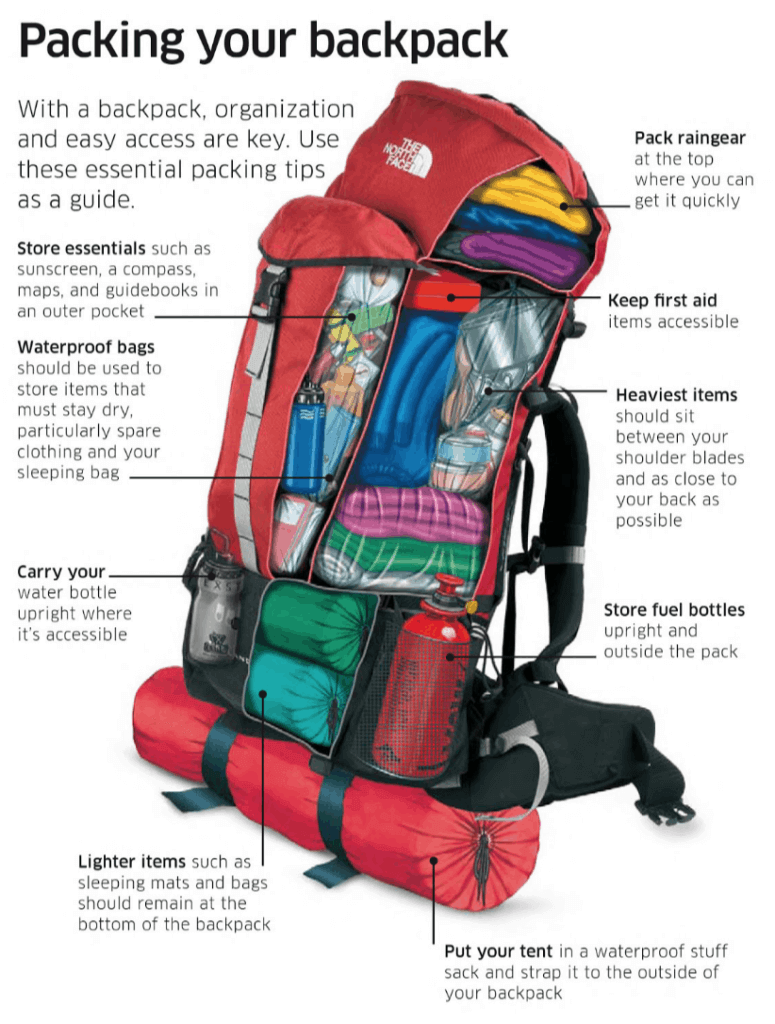 With every backpack, organization and easy access are key. Use these packing essential packing tips as a guide
- Store essentials such as sunscreen, a compass, maps, and guidebooks in on outer pocket.
- Waterproof bags should be used to store items that must stay dry, particularly spare clothing and your sleeping bags.
- Carrying your water bottle upright where it’s accessible.
- Lighter items such as sleeping mats and bags should remain at the bottom of the backpack.
- Put your tent in a waterproof stuff sack and strap it to the outside of your backpack.
- Store fuel bottles upright and outside the pack.
- Heaviest items should sit between your shoulder blades and as close to your back as possible.
- Keep first aid items accessible.
- Pack rain gear at the top where you can get it quickly.
List of Possible Natural Disasters
While doing homework for this article I decided to look into what other natural disasters we might need to worry about. I found a list on Wikipedia that might be helpful to you. Dig in and figure out which one you are most likely to encounter in your neck of the woods. After you know what you’re preparing for, it will be a lot easier to build an effective Natural Disaster Kit.- Geological disasters
- Avalanches and landslides
- Earthquakes
- Sinkholes
- Volcanic eruptions
- Hydrological disasters
- Floods
- Tsunami
- Limnic eruptions
- Meteorological disasters
- Cyclonic storms
- Blizzards
- Hailstorms
- Ice storms
- Cold waves
- Heat waves
- Droughts
- Thunderstorms
- Tornadoes
- Wildfires
- Space disasters
- Impact events and airburst
- Solar flare

