Every time I am in the great outdoors, I realize exactly how unpolished my survival skills are. In fact, the vast majority of us are merely beginners when it comes to outdoor survival. I did a little homework and put together what I believe are the 6 most important outdoor survival skills for beginners.
What are the most important outdoor survival skills every beginner should know?
- Fire starting skills
- Navigation skills
- First aid skills
- Finding food and water
- Shelter building skills
- Emergency communication skills
The level of preparedness needed for most scenarios depends on the specific situation, location, and climate.
Those who are just starting down their preparedness journey often run into what’s called “information paralysis”. There is so much information out there that it can actually overwhelm you to the point of just not doing anything at all. Because of that, I will keep this article as simple as possible.
Survival Skill: #1 Fire-Starting Skills
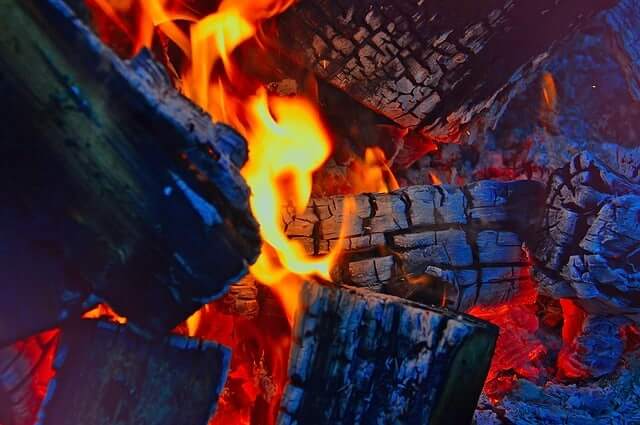
How To Start a Fire Without Matches Or A Lighter
You never know when you will find yourself in a survival situation where you need to make fire just to survive. If you don’t have matches ready, you may find yourself feeling a little defeated by the idea of making a fire without that easy tool. However, there are some excellent options to make a fire without the dependence upon matches. Use our favorite fire-making techniques so you can survive in the wild
Flint and Steel
One of the easiest ways to start a fire is by using flint and steel. Flint and steel kits can be found at hardware stores, online, and some gas stations even carry small kits. Use some tinder to have a base for the fire to get started. Good tinder can be cotton wool, dryer lint, cedar shavings, cattails, and birch bark shavings. To create a spark with the flint and steel, create a small bird’s nest with the tinder to catch the sparks that will come from flint and steel. Strike the flint with a metal striker and you will see small sparks appear. One of these small sparks will catch in your tinder nest, where you can immediately gently blow on the spark inside the nest until it starts a fire. Use this video to help you walk through the process of creating a good flint and steel fire.
Glass lens
A glass lens fire has been popular in movies, but most people do not realize you can actually start a fire with a glass lens. A magnifying glass that rotates or has a handle is the ideal selection for starting a fire. Create a tinder nest and place it on the ground and aim the beam of the sun through the glass lens on the tinder nest until it starts to smoke. Gently blow on the tinder nest to help produce a flame.
Friction sticks
If you’ve ever seen Cast Away with Tom Hanks, you have seen a friction stick fire in action. Friction sticks are one of the most challenging options to make a fire, but it is effective when you can do it correctly. To use this method, use a V-shaped notch in a log and then grab another dry stick to create a spindle. Now, rub the spindle between your hands as quickly as you can to create friction, creating heat, and eventually smoke will start, which you want to hurry and get that tinder nest to catch the small spark.
Reflective tools
Reflective tools are designed to harness the power of the sun to start a fire. Reflective tools like the Solar Spark Lighter can fit inside your pocket, making it an ideal solution for an emergency kit. There is a stainless-steel parabolic mirror inside that is designed to use the sun’s radiant energy to start a fire. The device looks like a half-domed cone that will capture the heat, starting a fire on the small tip, which allows you to take the small ember and place it into your bird’s nest kindling to start a larger fire.
This is the one that I have, just in case you wanted to see it.
9-volt battery and steel wool
A 9-volt battery and some steel wool could save your life if you are in an emergency survival situation. Simply rub the steel wool on the battery and instantly there will be a spark. We recommend starting this type of fire in a fire pit where you have kindling and wood ready to go as the fire starts quickly, and you will need to act fast to avoid getting burned.
**Pro Tip – Make sure you have a nice amount of dry kindling to make it easier for the spark to catch fire. Gentle blowing on the bird’s nest is essential. If you blow too hard, you will blow out the spark. If you blow too lightly, your spark won’t ignite.
Survival Skill #2: Navigation Skills
How to find your way around the wilderness
Finding yourself in the wild without a GPS can feel daunting. Some people are not sure how to use the sun and stars to navigate themselves through the wild. A compass can feel like a foreign object to others. The important thing to remember when dealing the wilderness is to become familiar with your surroundings, know what gear you do have, and to avoid panicking. Here are our favorite methods to navigate your way out of the woods.
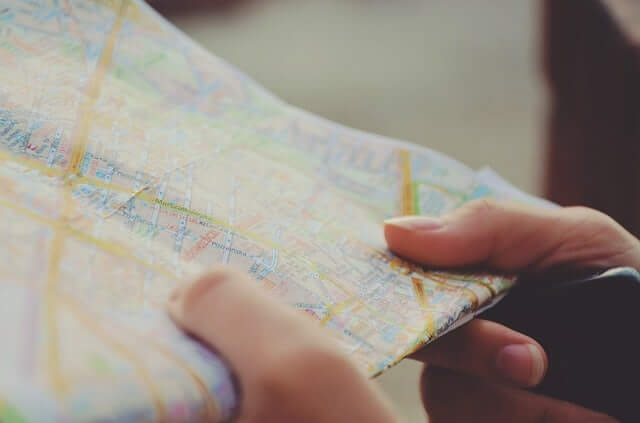
Maps
Use a compass to find north on the map and then place the map in the correct direction so you can find yourself on the map. You may need to rotate the map around to make sure you have the correct positioning. Now that the map is in the right direction, find yourself on the map. One way to do this is to find the closest town you remember and trace your path from that area. There are different types of maps to use, so you will want to follow this link to help understand how to read the different types of typography.
Compass
Learning to read a compass is not quite as hard as you might think. You’ll need to start with the basics to know North, South, East, and West and then identify the red and black needle. The red part always needs to point towards the earth’s magnetic pull to the north pole. To find north is to look where that magnetic needle is facing. That is the easiest way to find North. Learning the additional skills of learning to use a compass are best left to the experts you can watch here.
Using the Sun and the stars
Star navigation is a unique skill to have when you are in an emergency. The first place to start is by finding the North Star (Polaris), it is the brightest star in the constellation Ursa Minor (Little Dipper). Finding the Little Dipper and Big Dipper constellations is normally fairly easy. Once you locate the North Star, determine the angle in degrees between the position of the northern horizon and the North Star’s position. To obtain the degrees, you can extend your fist to the horizon and stack your fists on top of each other until you reach the North Star. A fist length is normally about 10 degrees of angle measure. This will help you find your latitude, making it easier to get your bearings. Here is a quick explainer video to learn how to read the stars.
Survival Skill #3: First Aid Skills
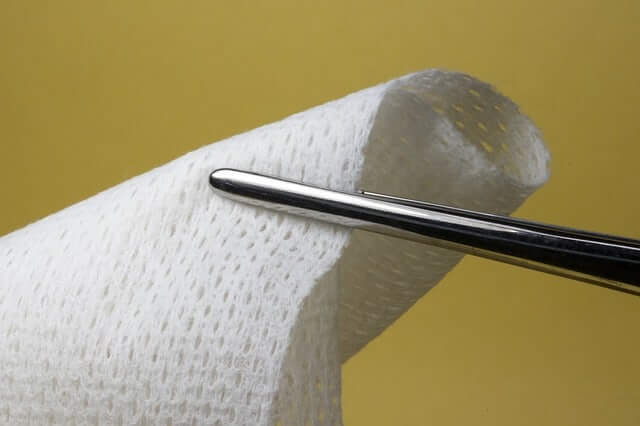
How to dress a wound in the wild
Getting a wound in the wild can be challenging to keep from becoming infected. Open wounds can be serious as it doesn’t take much for bacteria to start causing infection, and you have to worry about blood loss or tissue damage. Use our quick reference guide to learn how to clean, treat, and care for wounds in the wild.
Knowledge
The most important thing is to understand how a wound can become problematic. You need to clean the wound quickly and stop the bleeding if there is a great deal of bleeding and tissue damage. Remove or cut away clothing from the wound and look for an exit would if you’ve been pierced by something. Once you have access to the wound, you will need to clean the skin surrounding the wound. Boiling hot water is needed to limit the spread of bacteria from your hands to the wound. Gently cleanse the wound if it is not too serious. Do not try and suture a wound in the wild, instead, do the open treatment method by allowing the wound to remain open to allow drainage to occur. A clean dressing placed on top of the wound will limit additional infection, but you need to change the dressing daily. For gaping wounds, consider using some butterfly bandages to help pull the skin together. Infection is one of the biggest concerns in the wild, so you want to make sure you have a warm compress to clean the wound and keep it on for at least 30 minutes, 3-4 times a day until you can receive proper medical treatment. Stay hydrated with water to help the body have plenty of fluids to aid in the healing process.
Kits
A well-stocked first-aid kit could save your life in a survival situation. There are several things that your kit should include:
- Gauze pads
- Adhesive tape
- Band-Aids in multiple sizes
- Elastic bandages
- Splint
- Antiseptic wipes
- Antibiotic ointment
- Soap
- Tweezers
- Hydrocortisone cream
- Ibuprofen, acetaminophen, and Benadryl
- Scissors
- Safety pins
- Cold packs
- Calamine lotion
- Alcohol wipes
- Emergency blanket
- Flashlight
Of course, your first aid kit could have more or fewer items, but these are some of the most essential items you will need in a survival situation.
Practice
Prior to a trip in the woods, it is a good idea to familiarize yourself with a first aid kit and know how to use the items. This video series is a good one to understand first aid kits. You’ll want to take some time to practice using a splint, making a sling, tying knots, and CPR.
Survival Skill #4: Finding Food and Water
How to find food in the wild
Any time you find yourself in a survival situation, it pays to spend time getting your bearings, setting up shelter, and finding food and water. If you are not sure where to begin with food, here are some things that will help you through a basic survival situation.
Pro Tip: Do not eat anything that you do not know what it is, especially when it comes to plants and berries!
Hunting
Learning how to hunt in a survival situation can be tricky if you haven’t done it before. Start by hunting small game as it’s easier to manage. Squirrels, rabbits, fish, mice, and raccoons are usually the easiest animals to start with. Animals are active in the morning and evening, so these are the best times to hunt. Most animals are close to water sources, and you want to walk very quietly so you do not scare them. Walking slowly and stopping to listen for noise can help to guide you to the animals.
Trapping
Instead of going out to hunt, some people like to set up traps and cause the game to come to them. A simple snare is normally the easiest one to set up. Use some string, rope, or wire and tie a small loop, passing the end of the rope through it to make a loop noose. Now, place the snare in front of the opening to a den, tighten the other side of the string to a rock or tree. When the animal leaves the den, their head will be trapped in the noose.
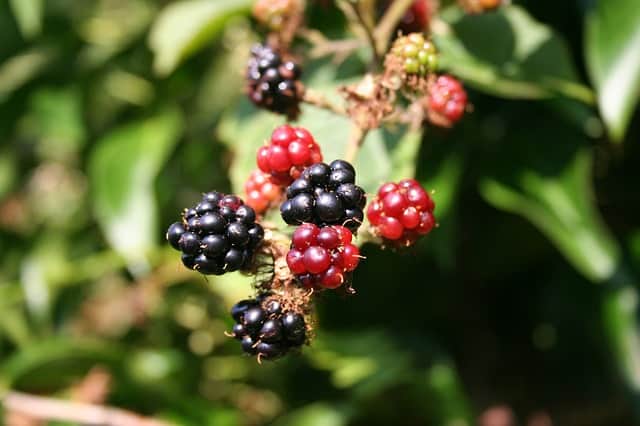
Foraging
Foraging in the wild is one of the most common ways to find food. It pays to read up on plants to understand how to identify an edible plant from a poisonous one. Learning about the types of plants in your area will help a lot when it comes to surviving in the wild. Some foods that you can eat and are found in most areas include:
- Dandelions
- Sorrel
- Wild garlic
- Hawthorn
- Elderflowers and elderberries
- Blackberries
- Stinging Nettle
How to find water in the wild
In any survival situation, finding water is one of the most important things. Dehydration will impact your physical and mental health, and it doesn’t take long for it to set in. Unfortunately, the water in the wild can be contaminated and must be purified prior to drinking.
Finding
One of the easiest ways to find water is to look for vegetation, especially in the desert areas. Animals often stay close to water sources, so follow them as you are searching for water. If there are no sources of water around, you will need to try other methods to collect water. Start by using a container to collect dew by digging a hole as deep as you can (recommended 3 feet) and placing a container inside. In the morning, some water will be collected at the bottom of the container. Another way to find water is to take a plastic bag and tie it as tightly as you can on non-poisonous vegetation, allowing the water vapor to collect on the bag.
Filtering
For the majority of people, finding water in the woods is fairly easy, but filtering it is the hard part. Filtering water is one way to cleanse it to drink. Sand filtration is the most common method used to filter water. Grab two water bottles and cut the nose off the bottle’s base to make a cone shape. Then, use pebbles, cotton, or fabric to make a filter. Once this is added, include small gravel (this helps to keep the filter in place). Use sand to fill the cone-shaped bottle and add water through the filter piece. The goal is to have clear water come out the bottom, if it isn’t clear, keep passing it through the filter. Use this video to learn more about creating a filter with a plastic water bottle.
Purifying
Making drinking water safe is the most important thing you can do! You need to boil the water to purify it as this will kill the bacteria. If you do not have anything to boil water, use iodine tablets, chlorine drops, or a water filter to clean the water. Solar light is a great way to use natural elements to clean the water. Expose plastic bottles full of water to the sun for an entire day as the UV light will kill most of the hazards in the water. Disinfecting tablets are much more effective when it comes to purifying the water, so consider adding them to your emergency preparedness bag.
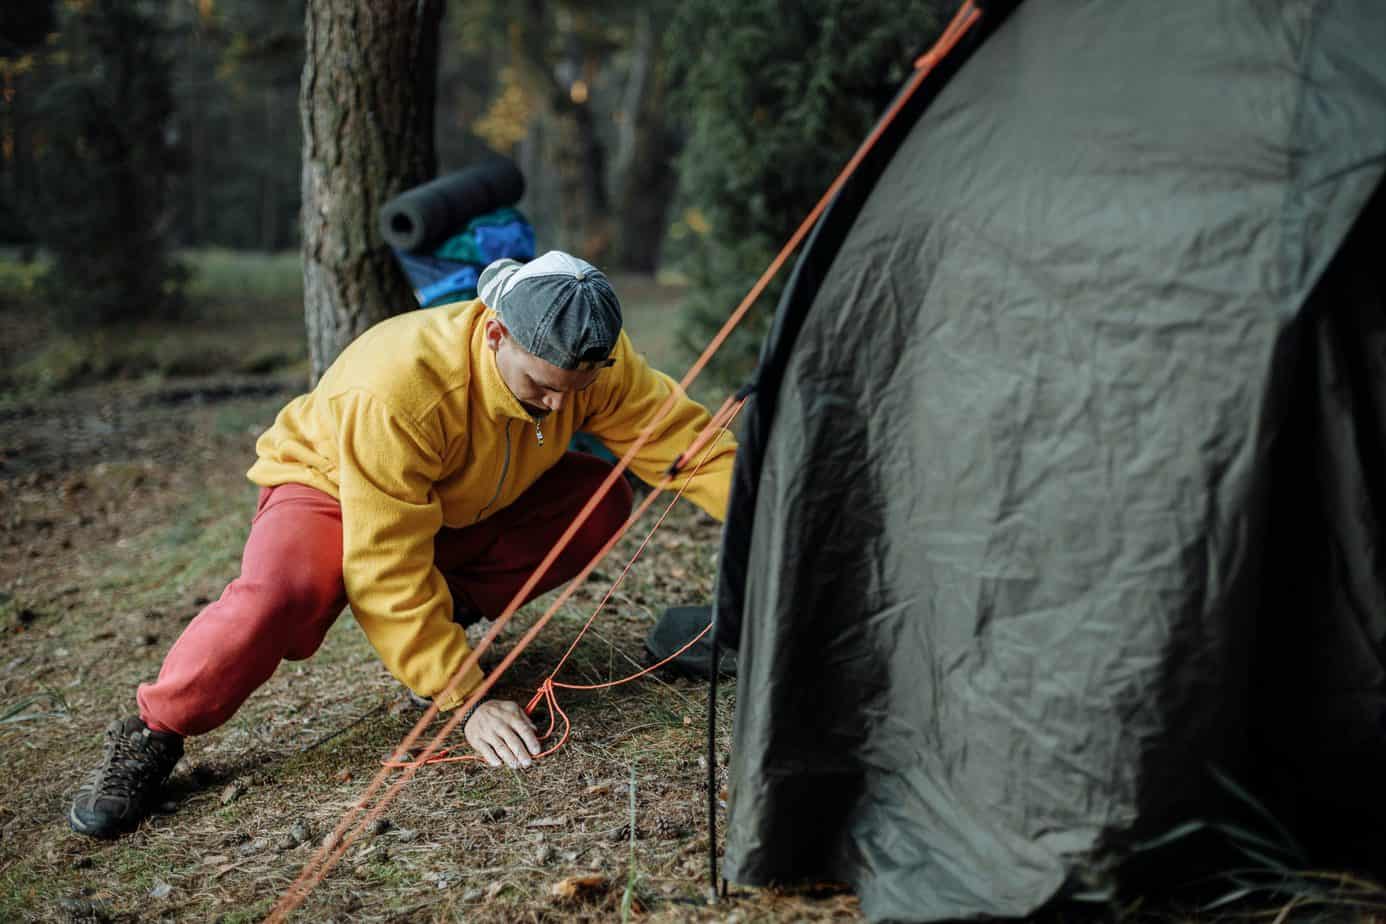
Survival Tip #5: Shelter Skills
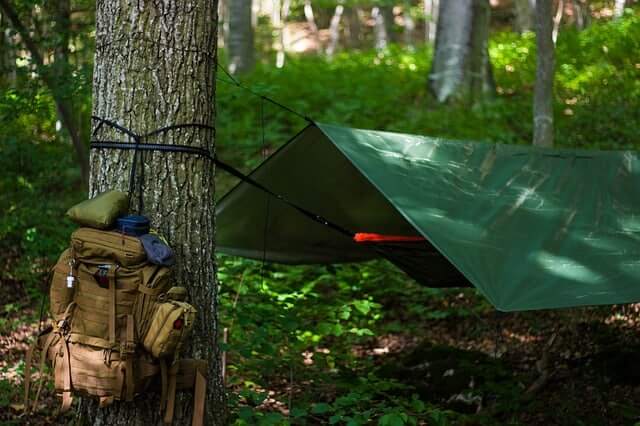
How to build a shelter in the wild
Surviving in the wild comes down to knowing how to build a shelter that will aid in keeping you away from the wild animals, the elements, and the insects. If you do not have a tarp with you, there are some other ways you can build a shelter. Gaining knowledge and practice prior to heading out on a wild adventure may save your life! Use this guide to learn about different types of shelters to create without having supplies.
Knowledge
You need to know what type of shelter you need to search for in the wild. Hopefully, you have taken the time to gather supplies and practice prior to going into the woods. No matter what shelter you are planning to build. You want to find a place that has dry, flat ground and is not right next to the water. You’ll want to have a place for a fire to be close by, helping you stay warm at night. An A-frame shelter is one of the easiest to create in the wild. Find a single, long, study branch as the main holder for the frame. Bring one end of this log to be propped up by another stick or a tree. Grab several shorter branches and begin laying them against the branch. Soon you will have a sloped roof. Cover the branches with several leaves or small branches to create a nice shelter.
Material
To create a small A-frame shelter, you need one large branch that is about two feet taller than you are. Determine if you want both sides open, or just one end of the shelter opened. If you do one side, you need to find a tree to place the large branch against, or you can use a large branch to hold up the largest branch. Once both branches in place, you want to have several sticks, leaves, twigs, grass, dirt, anything you can gather and compact together to create a roof and flooring. Leaves are usually the easiest thing to use to create nice bedding. You can even get creative and use leaves to make a blanket with.
Practice
Whether you have supplies or not, taking some time to practice making different survival shelters is important. Use this video to learn more about how to make a shelter in the wild.
Survival Skill #6: Emergency Communication Skills
What’s the best way to communicate in case of an emergency
Communicating in an emergency situation is crucial to saving your life, or the lives of others. What is the best way to get in touch with other people when you are in the woods? Here are our top three methods of communication:
Text messaging
Bring along an emergency battery with you in the event of a situation where you need to call or get a message out. If you know you are headed out camping, keep your phone fully charged to use in the event of an emergency. You can subscribe to local text alert services and set up your phone with an emergency text. Send a text message instead of calling as it usually gets the message out faster. Send a text message to everyone on your contact list with your last known whereabouts and if you have any injuries. A phone could pick up a signal for a second or two, which is enough time to get the message out.
Ham radio
One of the best survival communication methods is Ham radio as most emergency responders use them. Ham radio can reach the national weather system frequencies and you can scan for a channel to start sending a message. To use a Ham radio, you do need a license.
Walkie-Talkie
A walkie-talkie is the best way to stay in communication if you are traveling with a group. Carrying some extra batteries will help you to keep it charged to try and get a signal to your other travelers, or other people nearby. Agree upon a channel so you can get in touch with everyone and scan the channels as you try to get in touch with someone. Walkie-talkies are great because they won’t lose a signal the way your GPS or cell phone will in the wild.
Related Questions
Do I Need to Know How to tie a knot?
Knot tying is a great skill, but it is not necessary for most survival situations. However, we do recommend taking time to learn knot tying as it will allow you to trap wildlife, climb steep areas, and more.
Conclusion
These six survival guide basics can help save your life. Survival is all about using your common sense, making use of your resources, and practicing prior to venturing out in the wild. Implementing some basic survival skills will help to polish up critical thinking skills. Our rule of thumb with survival is the same as Special Operations, “Rule of Three”. The rule of three means a person can survive:
- 3 minutes without oxygen
- 3 hours without regulated body temperature (why you need to know how to start a fire and build a shelter)
- 3 days without water
- 3 days without food
Taking just a few minutes a day to practice each of the above survival skills will help you in the event of being in an emergency situation. If you are planning to venture into the wilderness, we recommend taking an outdoor survival course. Most of these classes are free and taught at local community centers, churches, universities campuses, and more. Our final pro tip is to keep a positive mental attitude. Keeping your wits about you will also go a long way in helping you survive!